In this lesson, we'll walk through setting up your GitHub repository, cloning the project to your machine, and adding initial dependencies. But first, we'll walk through setting up your environment with some very basic development tools and packages.
Below are some installation and set-up steps for
- MacOS
- Linux
- Windows
Complete these before continuing any further.
🍏 MacOS
Use Homebrew to install the following:
Make sure Homebrew is ready to go:
brew update
Install Python 3.10:
brew install python3.10
Install Node.js:
brew install node
Install Docker:
brew install --cask docker
Install AWS CLI:
brew install awscli
and then configure it:
aws configure
🐧 Linux
Use the package manager specific to your distribution. For Ubuntu/Debian-based systems, that's apt.
Update package lists and install prerequisites:
sudo apt update
sudo apt install -y software-properties-common
sudo add-apt-repository ppa:deadsnakes/ppa
sudo apt update
Note:
software-properties-commonis a collection of useful tools for adding and managing PPAs. Note:ppa:deadsnakes/ppais a Personal Package Archive (PPA) which contains newer versions of Python than the default repositories.
Install Python 3.10:
sudo apt install -y python3.10
Install Node.js:
sudo apt install -y nodejs
Install Docker:
sudo apt update
sudo apt install -y docker.io
sudo systemctl start docker
sudo systemctl enable docker
Install AWS CLI:
curl "https://awscli.amazonaws.com/awscli-exe-linux-x86_64.zip" -o "awscliv2.zip"
unzip awscliv2.zip
sudo ./aws/install
Note use
curl "https://awscli.amazonaws.com/awscli-exe-linux-aarch64.zip" -o "awscliv2.zip"if you're using an ARM-based system.
configure it:
aws configure
🪟 Windows
Use Chocolatey as your package manager.
Make sure Chocolatey is ready to go:
choco upgrade chocolatey
Install Python 3.10:
choco install python --version=3.10.0
Install Node.js:
choco install nodejs
Install Docker:
choco install docker-desktop
Install AWS CLI:
choco install awscli
and then configure it:
aws configure
🎯 Create a GitHub account
Go to https://github.com and create an account.
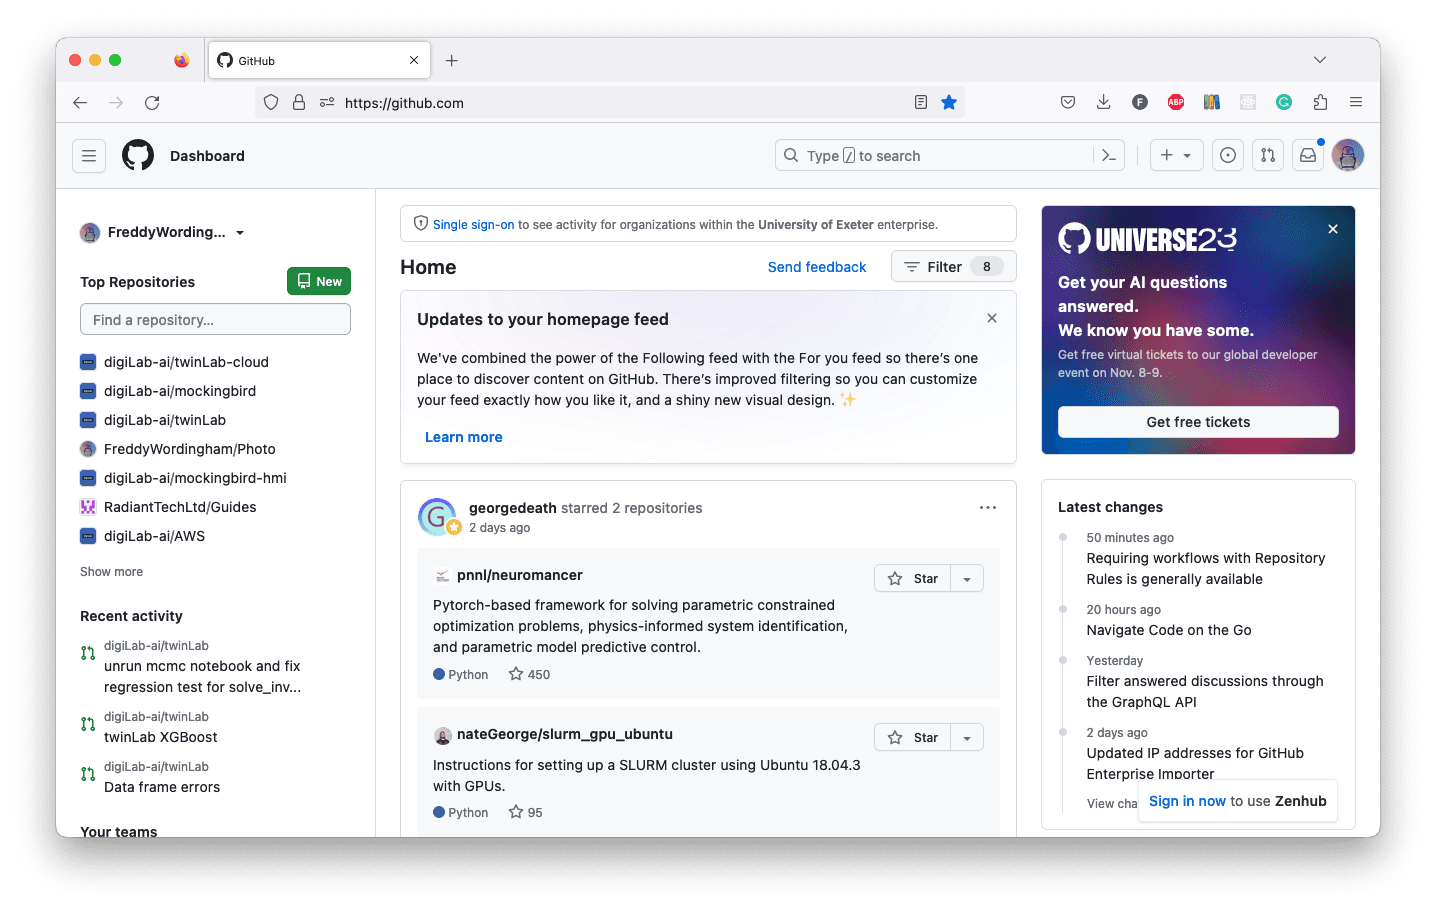
After You've logged in, you should be greeted with a page looking something like:
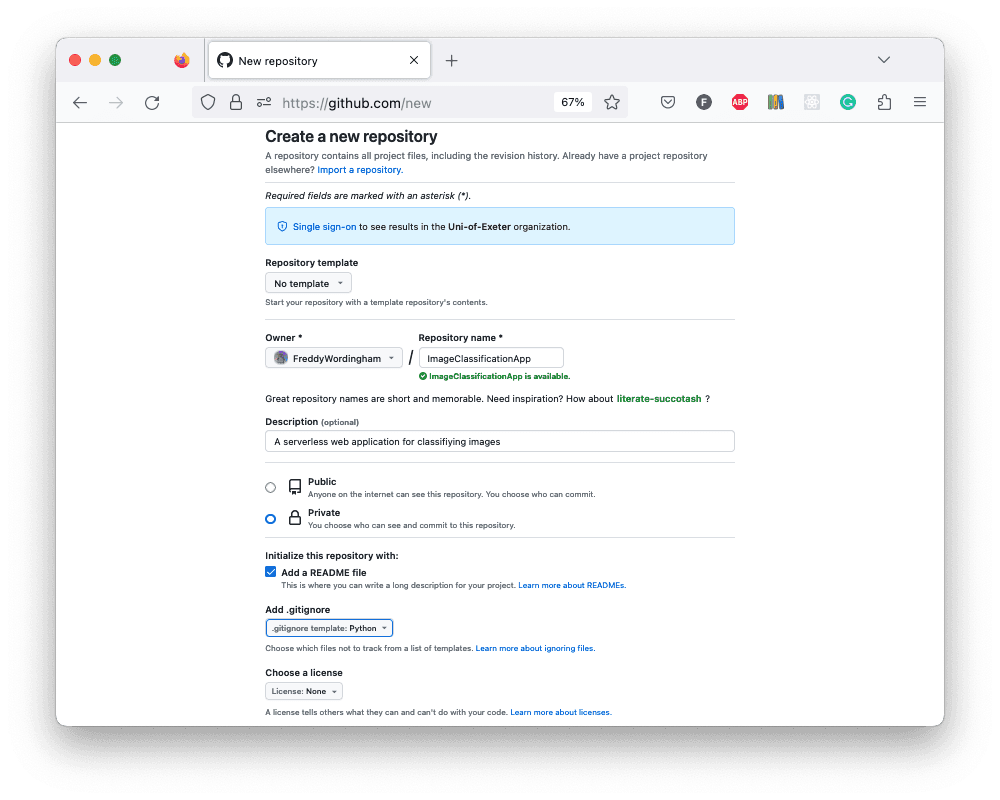
We'll want to hit the green "New" repository button towards the top left of the page.
Then, we'll want to:
- Select ourselves as the owner (rather than another organisation)
- Add a unique repository name
- Add a description
- Select private repository. (Or public if you'd like to show off the code!)
- Check the box for adding a README.md file. (This is what's shown when we go to our repository after it's been created.)
- Add a .gitignore for Python
- Don't add a license unless you would like to explicitly give permission for others to use your code
⚠️ No license means "All Rights Reserved." Others can view and fork but can't modify, distribute, or use commercially without explicit permission.
The page should look somewhat like this:
💻 Clone the project to your local machine
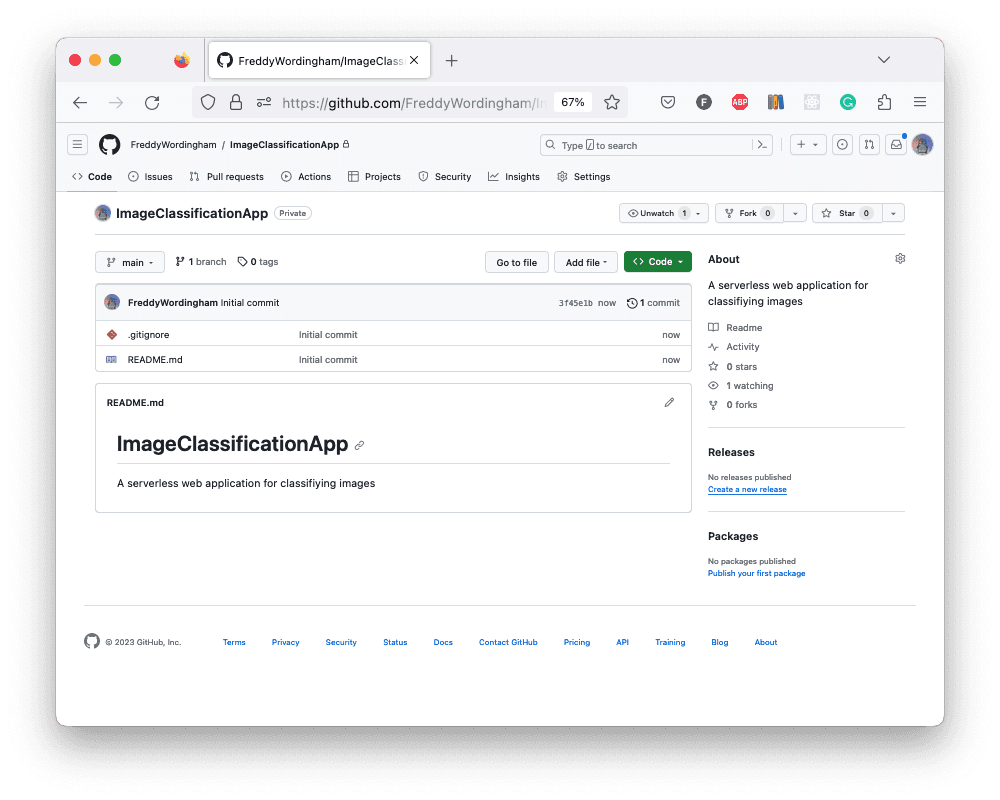
Now, when we go to the repository we should see something like this:
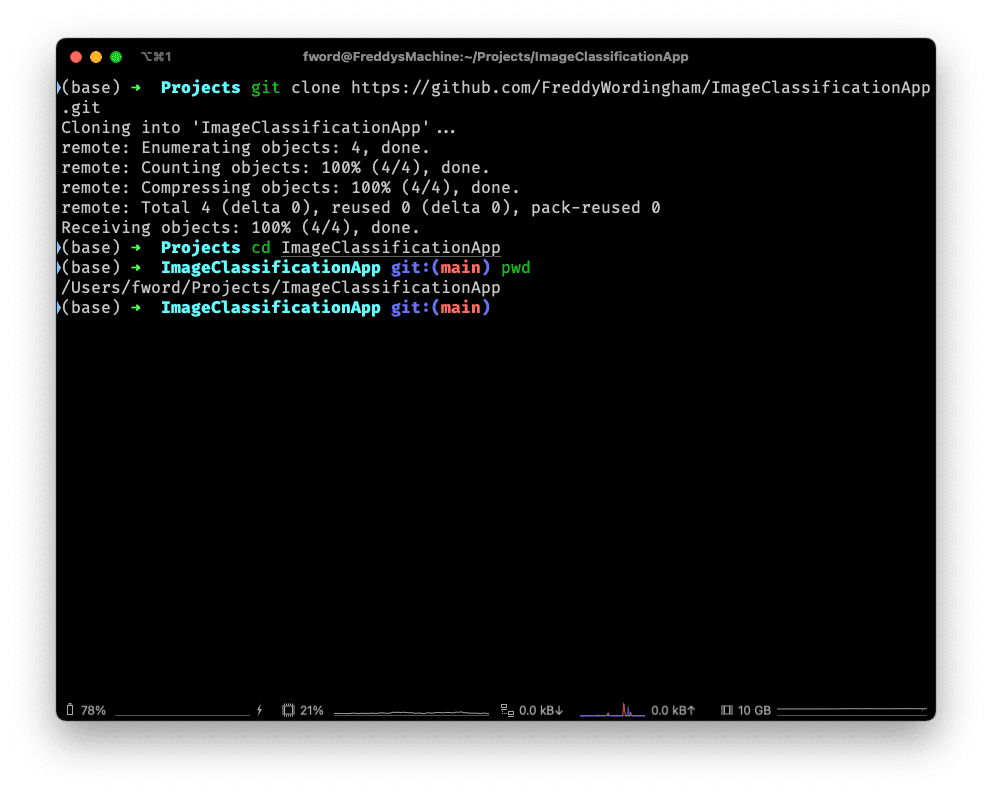
Next step is to then clone down this code to our local machine. Click the green "<> Code" button, and then copy the HTTPS url:
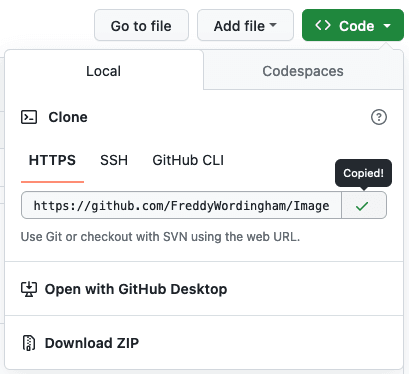
Then, open up the terminal and clone the repository down to your machine:
git clone https://github.com/<your_github_username>/<your_project_name>.git
ℹ️ When doing this, git will ask for your password. It's a dirty lie as what it really wants is an authentication token. If you haven't already for one, you can generate one on github.com by clicking your profile badge in the top right of the page and then going to settings > Developer settings > Personal access tokens > Tokens (classic). Then you want to click the "Generate new token" button, and select "Generate new token (classic)". Give it a name and make sure you select both "repo" and "workflow" checkboxes.
Set your current working directory to the project root:
cd <your_project_name>
Setup the Virtual Environment
Create a virtual environment using Python's venv module:
python -m venv .venv
and activate it:
source .venv/bin/activate
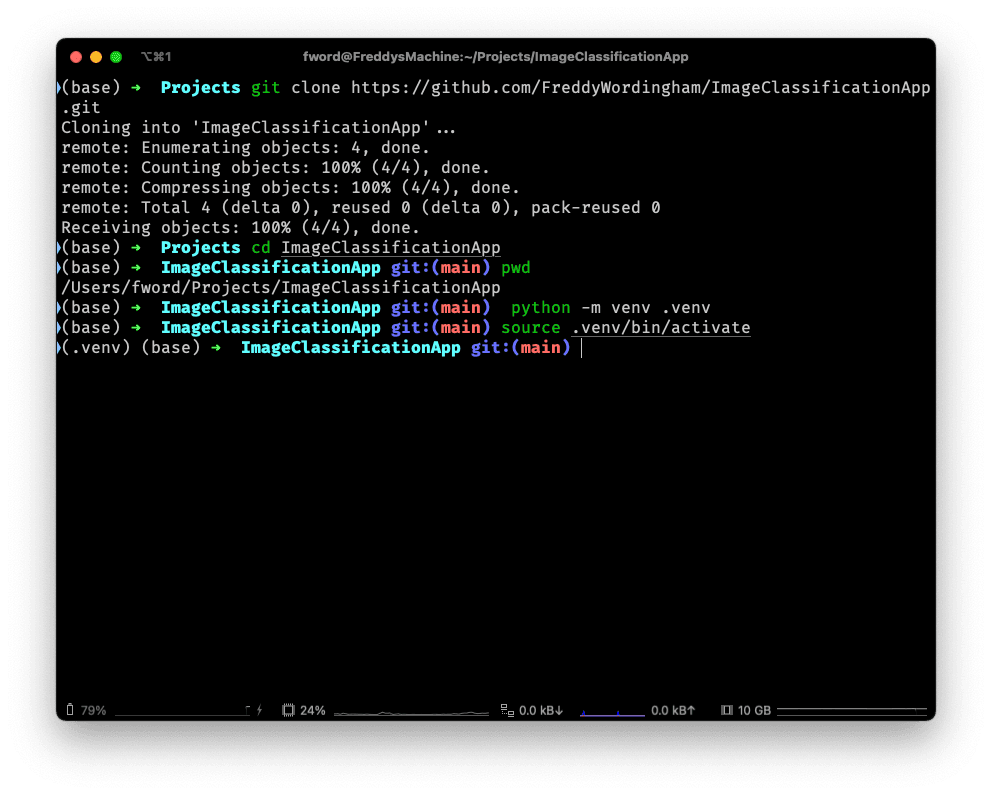
💡 Note how we can see the active virtual environment on the left in
(brackets). In this case I've got the (.venv) we just created and activated,
and I also have another one called (base). You won't see (base) on your
machine unless you're also using anaconda to install some packages.
🐍 Add a test script
Now we've done all that we can actually run some python!
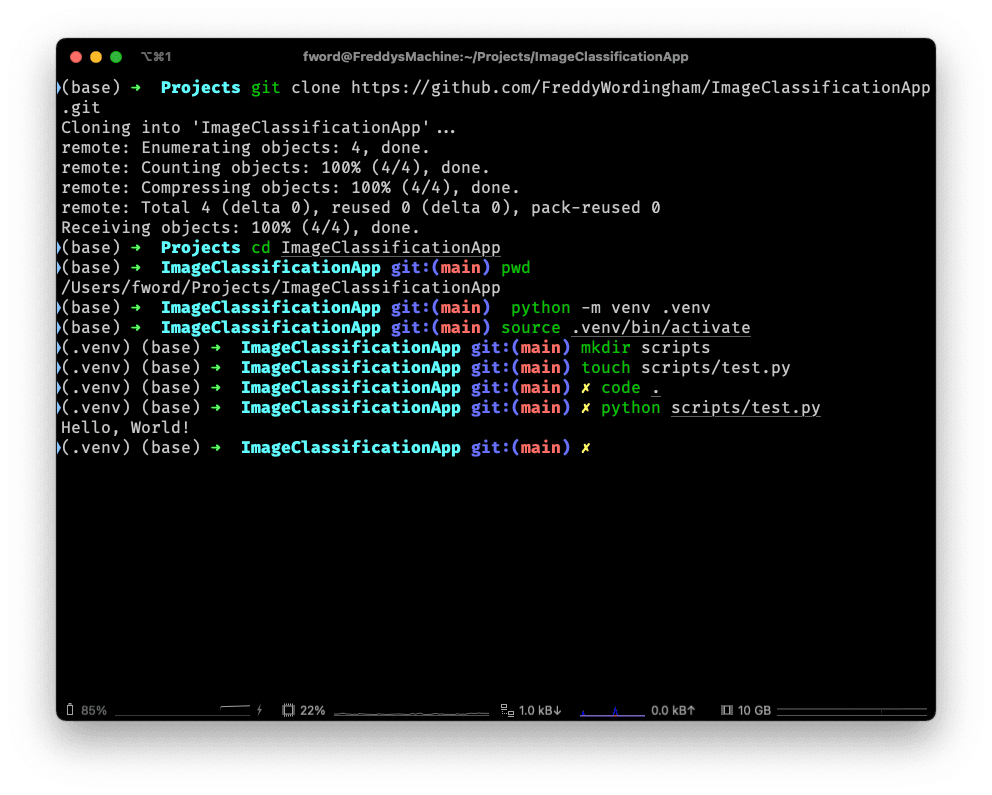
Create a new sub-directory in the project root called "scripts":
mkdir scripts
And add a file into it called "test.py":
touch scripts/test.py
Open this file in your text editor of choice. I'm going to use VSCode as it is lightweight and has a huge number of addons to tailor it to my needs:
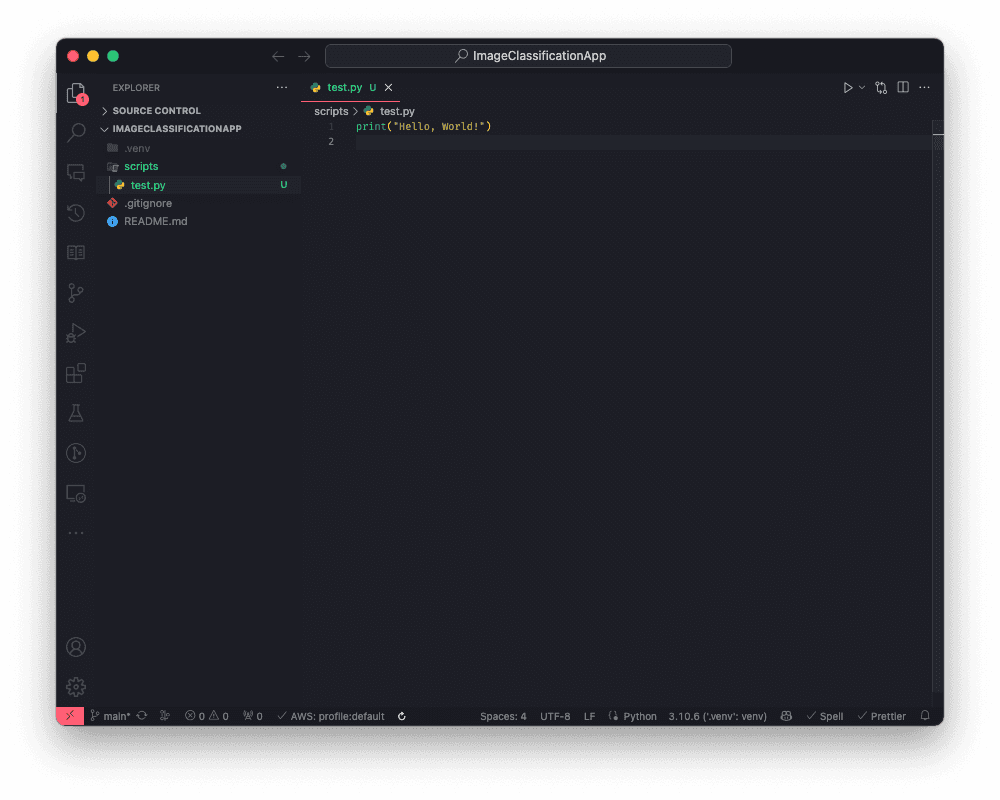
We just want to make sure everything is working, so all we're going to do for the moment is add a "Hello, world!" print:
print("Hello, world!")
Then try and run it from the terminal using:
python scripts/test.py
📦 Adding Dependancies
Now we're not going to reinvent the wheel here, so let's set up our project to use some dependancies.
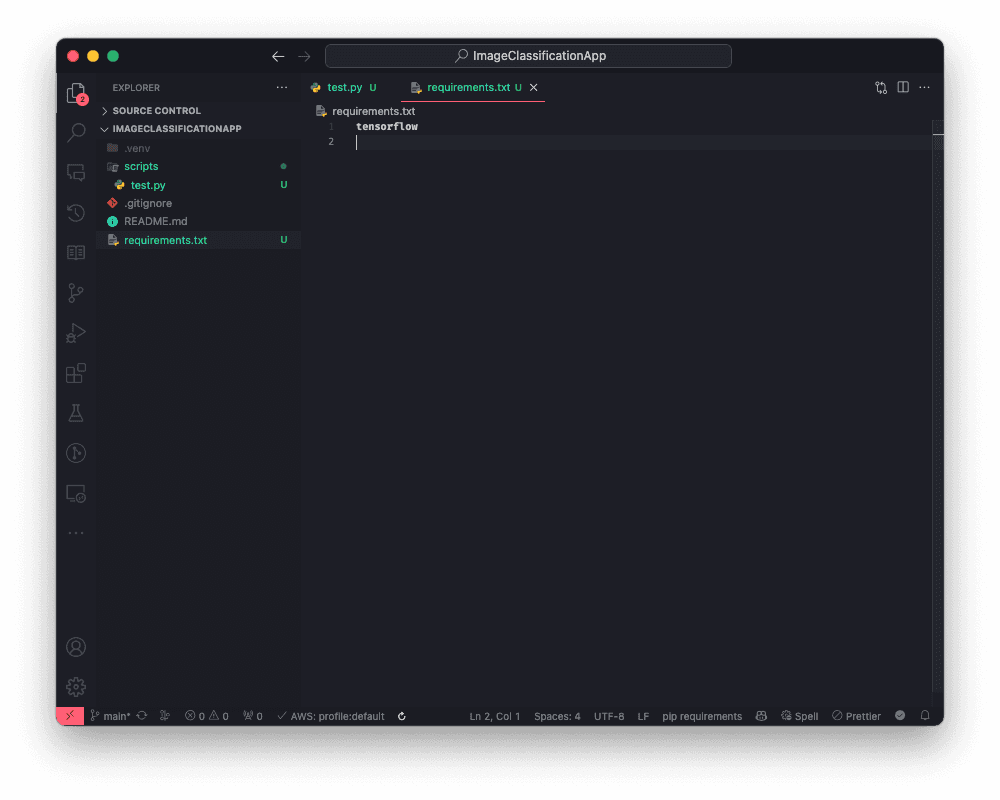
Create a new file called "requirements.txt":
touch requirements.txt
And inside it add "tensorflow":
tensorflow
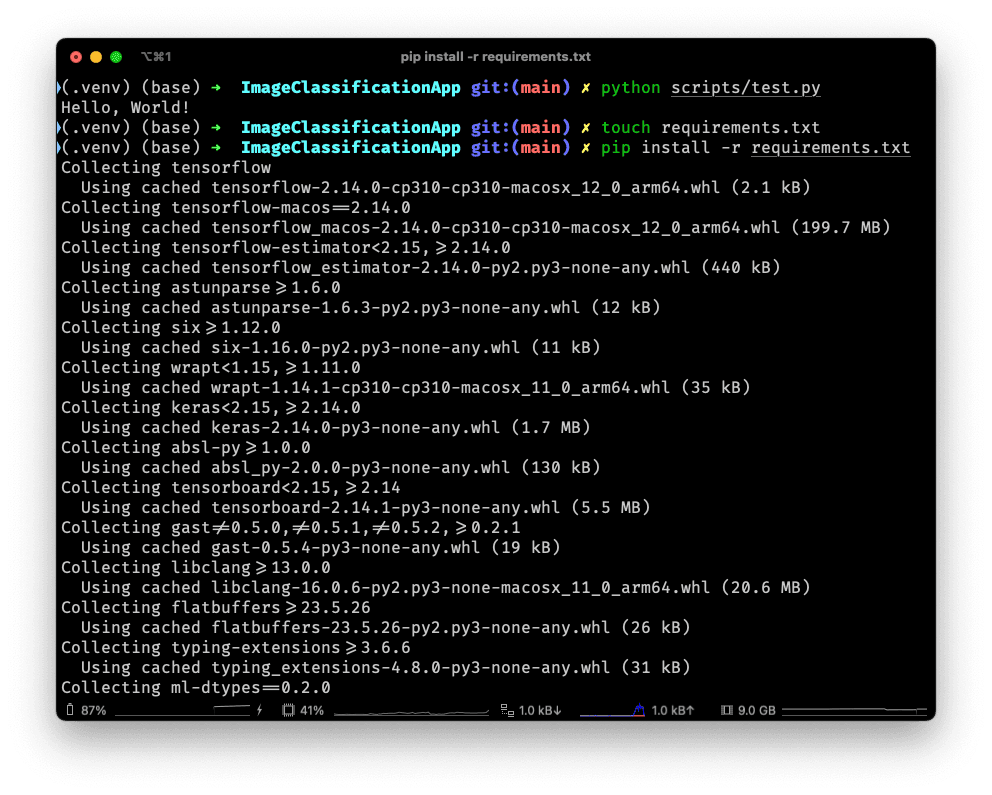
Then install the listed dependancies using:
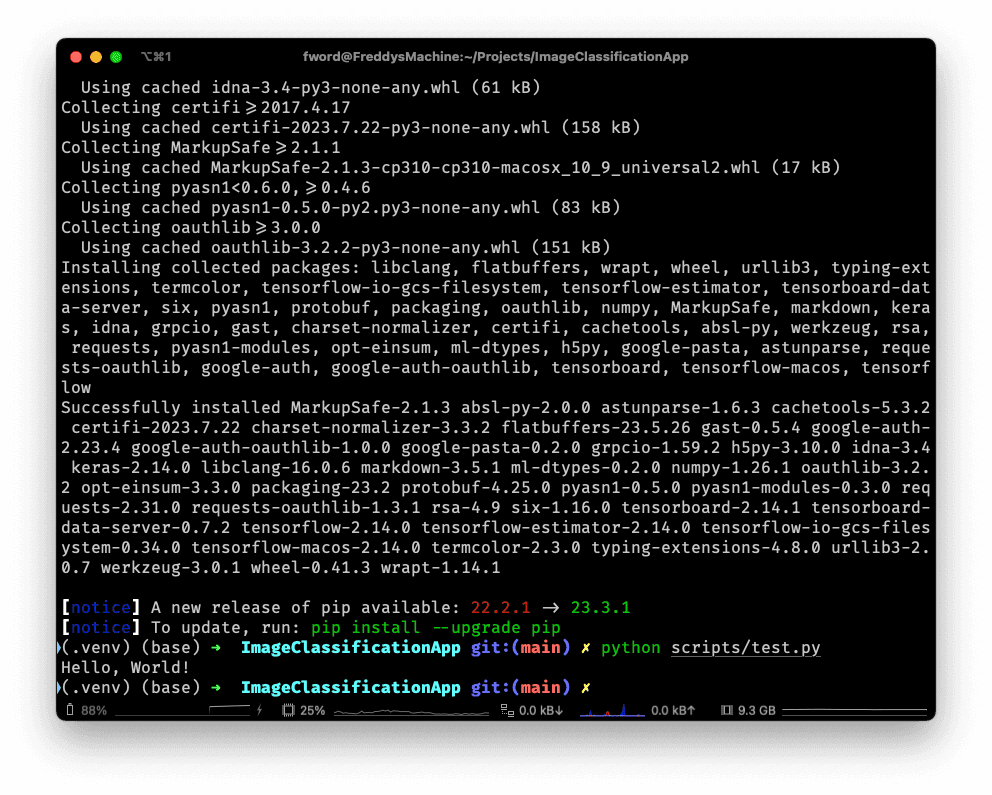
pip install -r requirements.txt
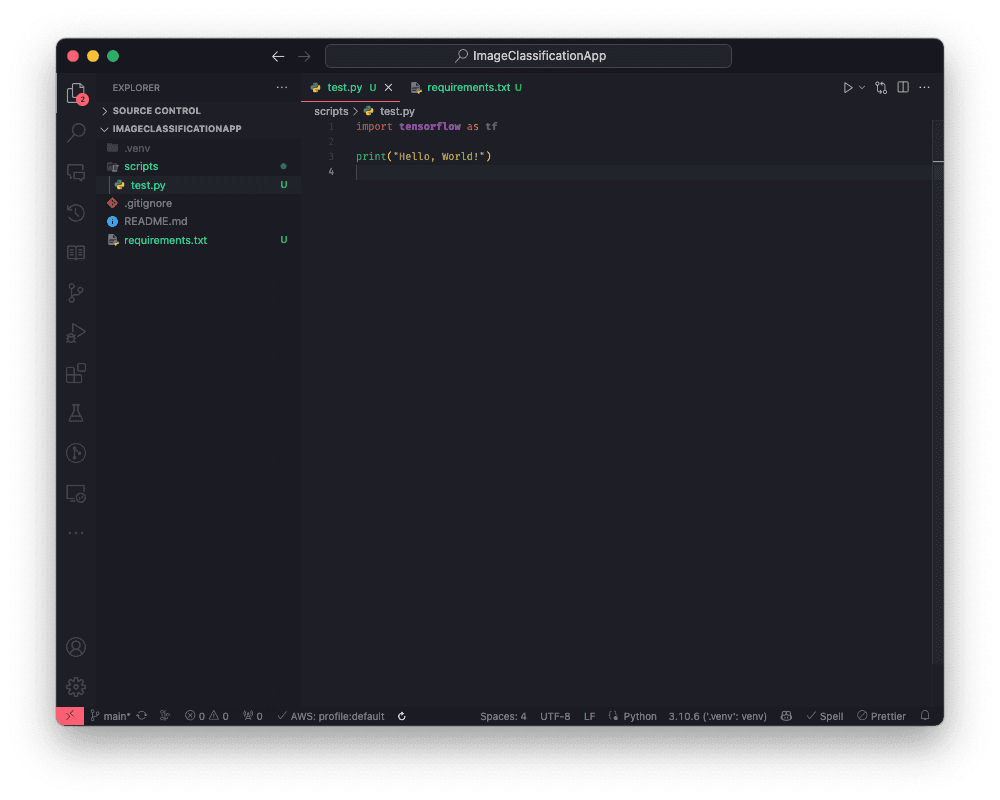
We can check this has worked by importing tensorflow in the test.py file:
import tensorflow as tf

print("Hello, world!")
If we run it again now, it should hang for a little while as it compiles the library for the first time, and then it should just say: "Hello, world!" again!
🔄 Updating the GitHub repository
Now's the perfect time to make our first commit, and push the changes back up to GitHub!
We can stage our changes with:
git add .
Then we can commit them with a message:
git commit -m "Initial project setup"
Finally, push them up:
git push
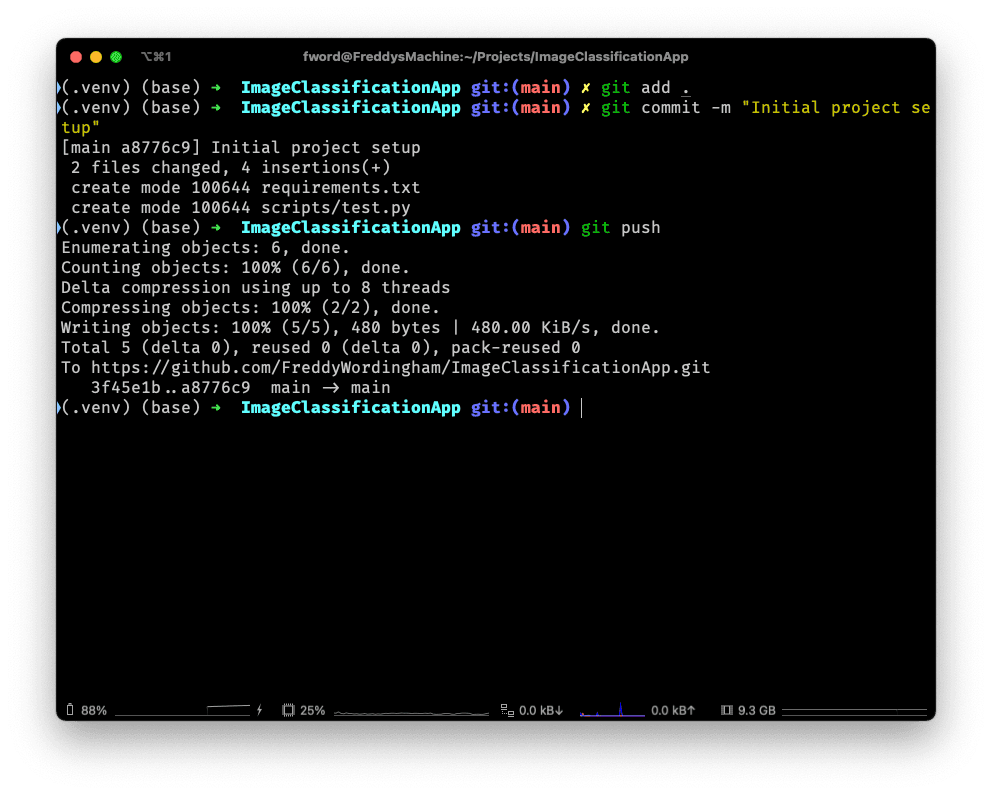
If you visit your repository on GitHub now, you should see the new files.
📑 APPENDIX
🏃♂️ How to Run
To install the required packages into your virtual environment, navigate to the root folder and execute:
pip install -r requirements.txt
Run the test script from the same location:
python scripts/test.py
🗂️ Updated Files
After you've done all this, you should have a project structure that looks somewhat like this:
Project structure
.
├── .venv/
├── .gitignore
├── requirements.txt
└── scripts
    └── test.py
requirements.txt
tensorflow
scripts/test.py
import tensorflow as tf

print("Hello, world!")